The following are some common adjustments and care items for your vise
Hook Gap adjustment
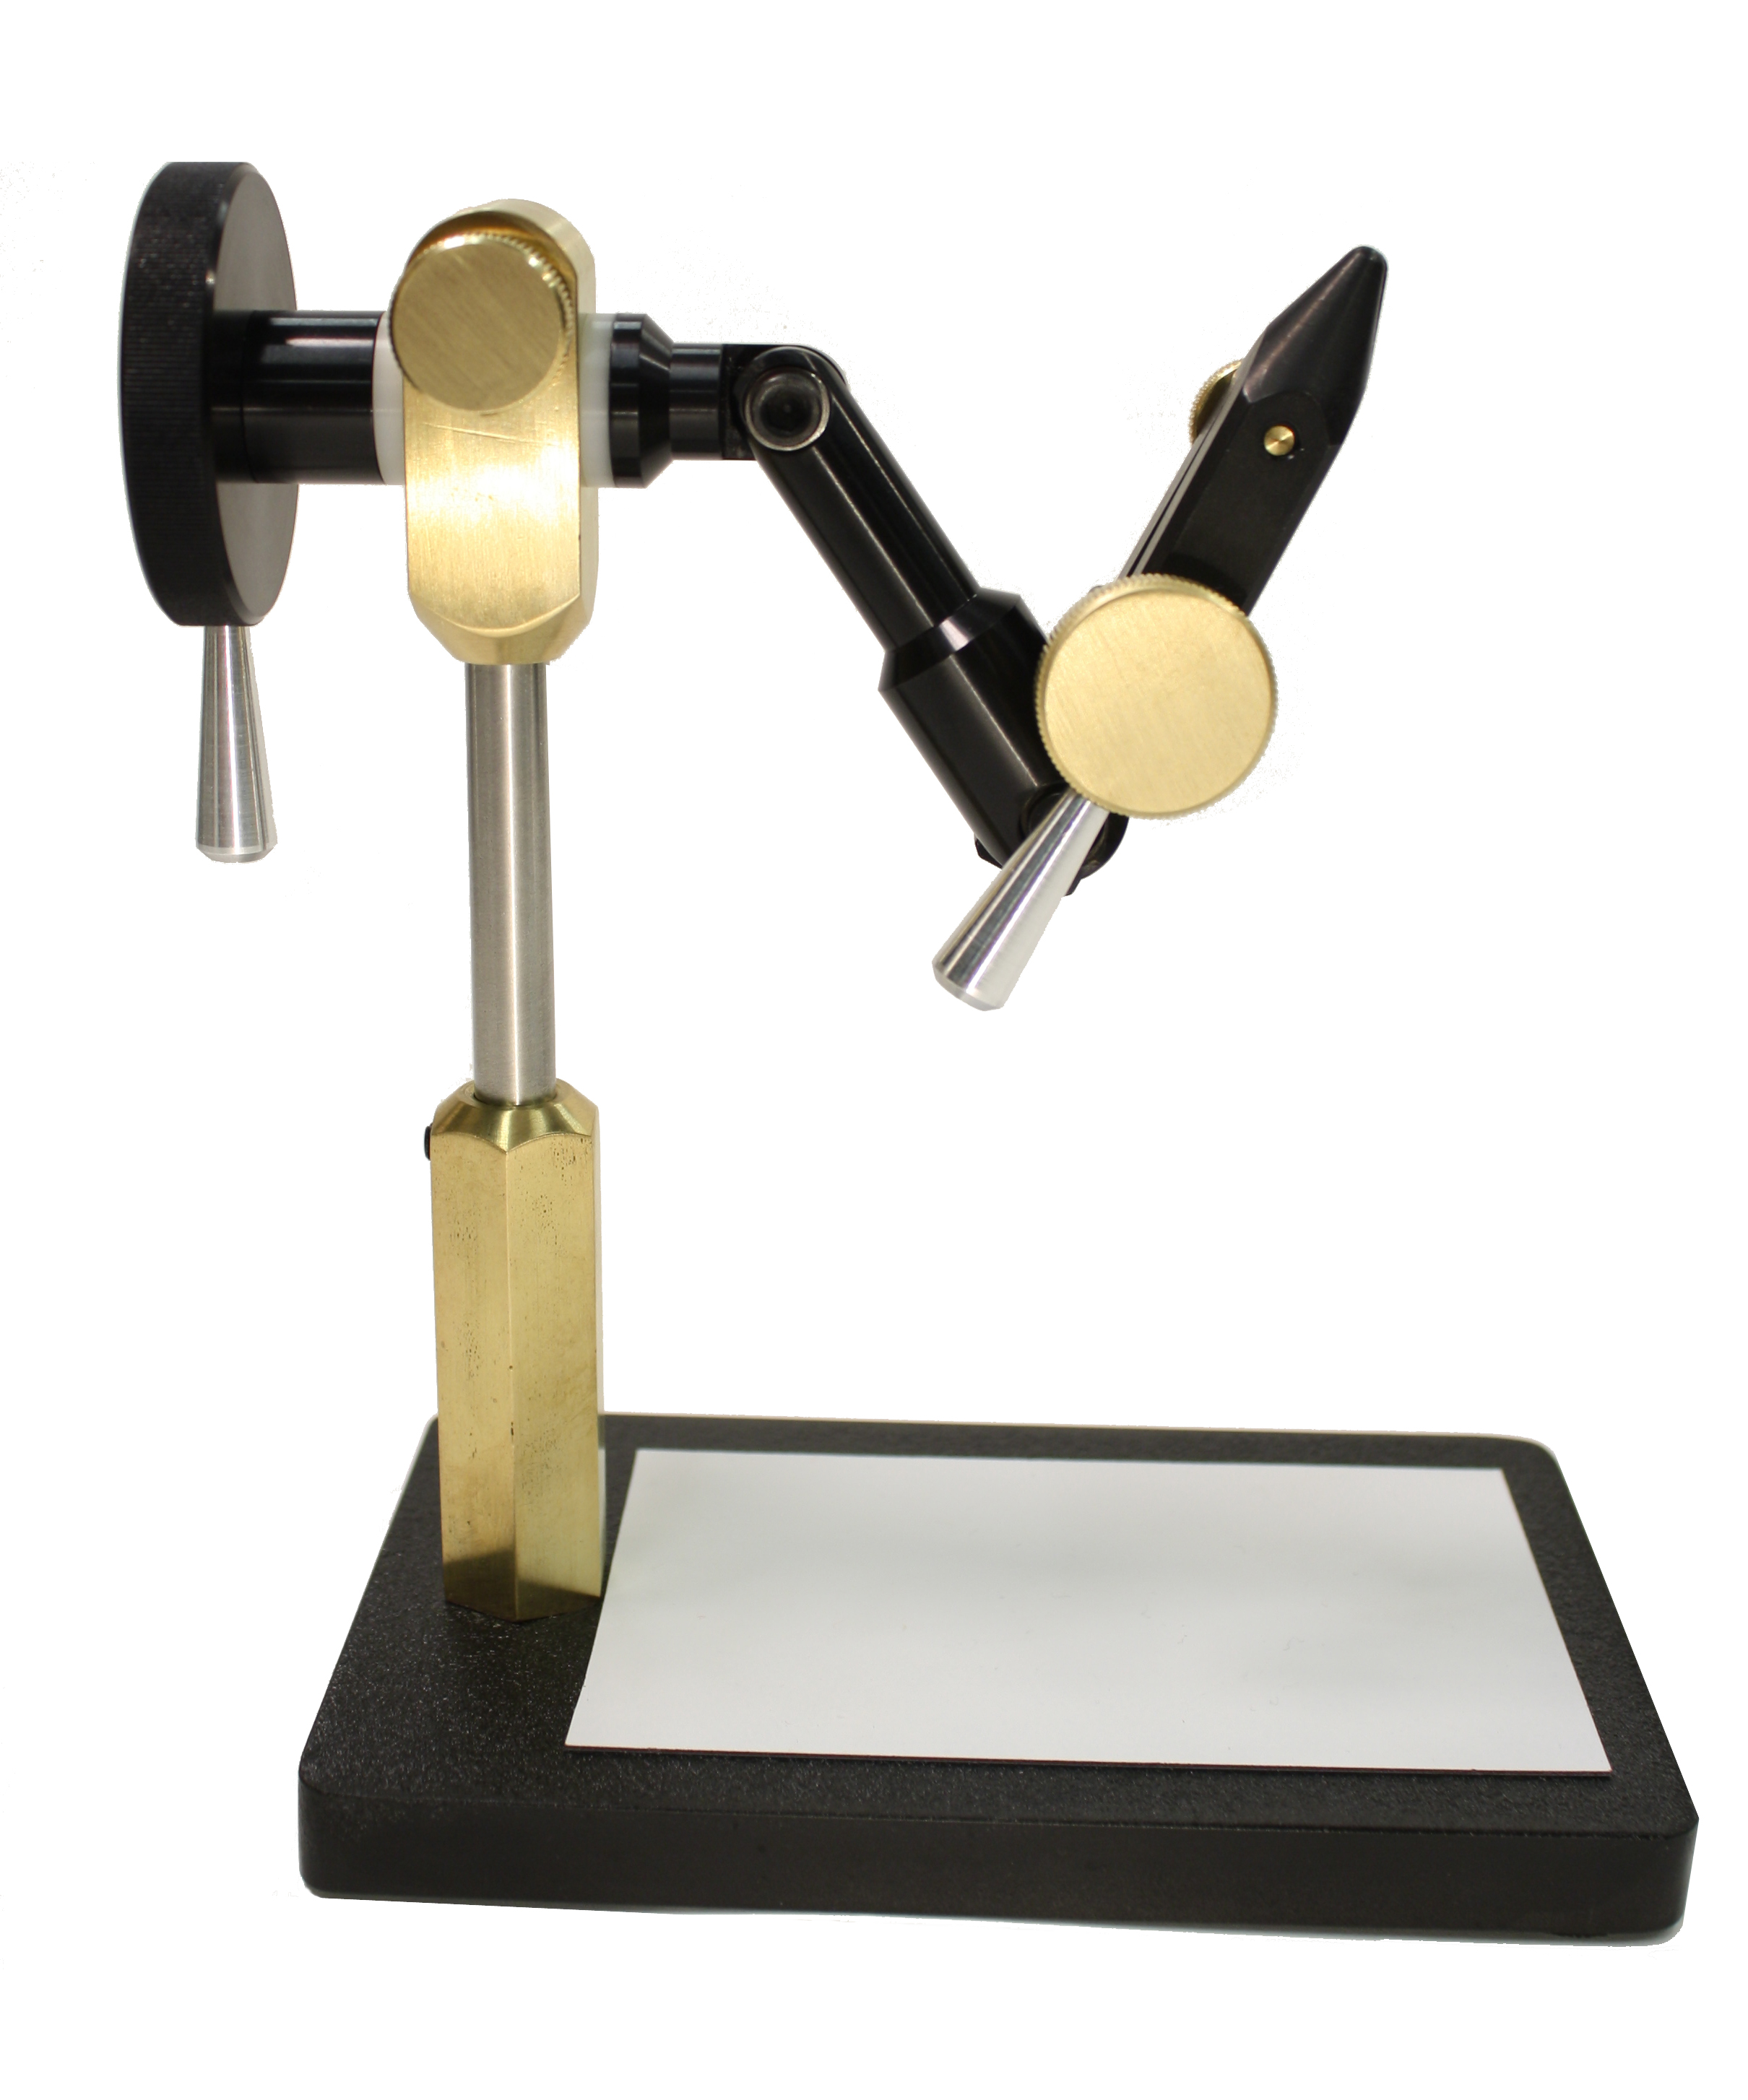
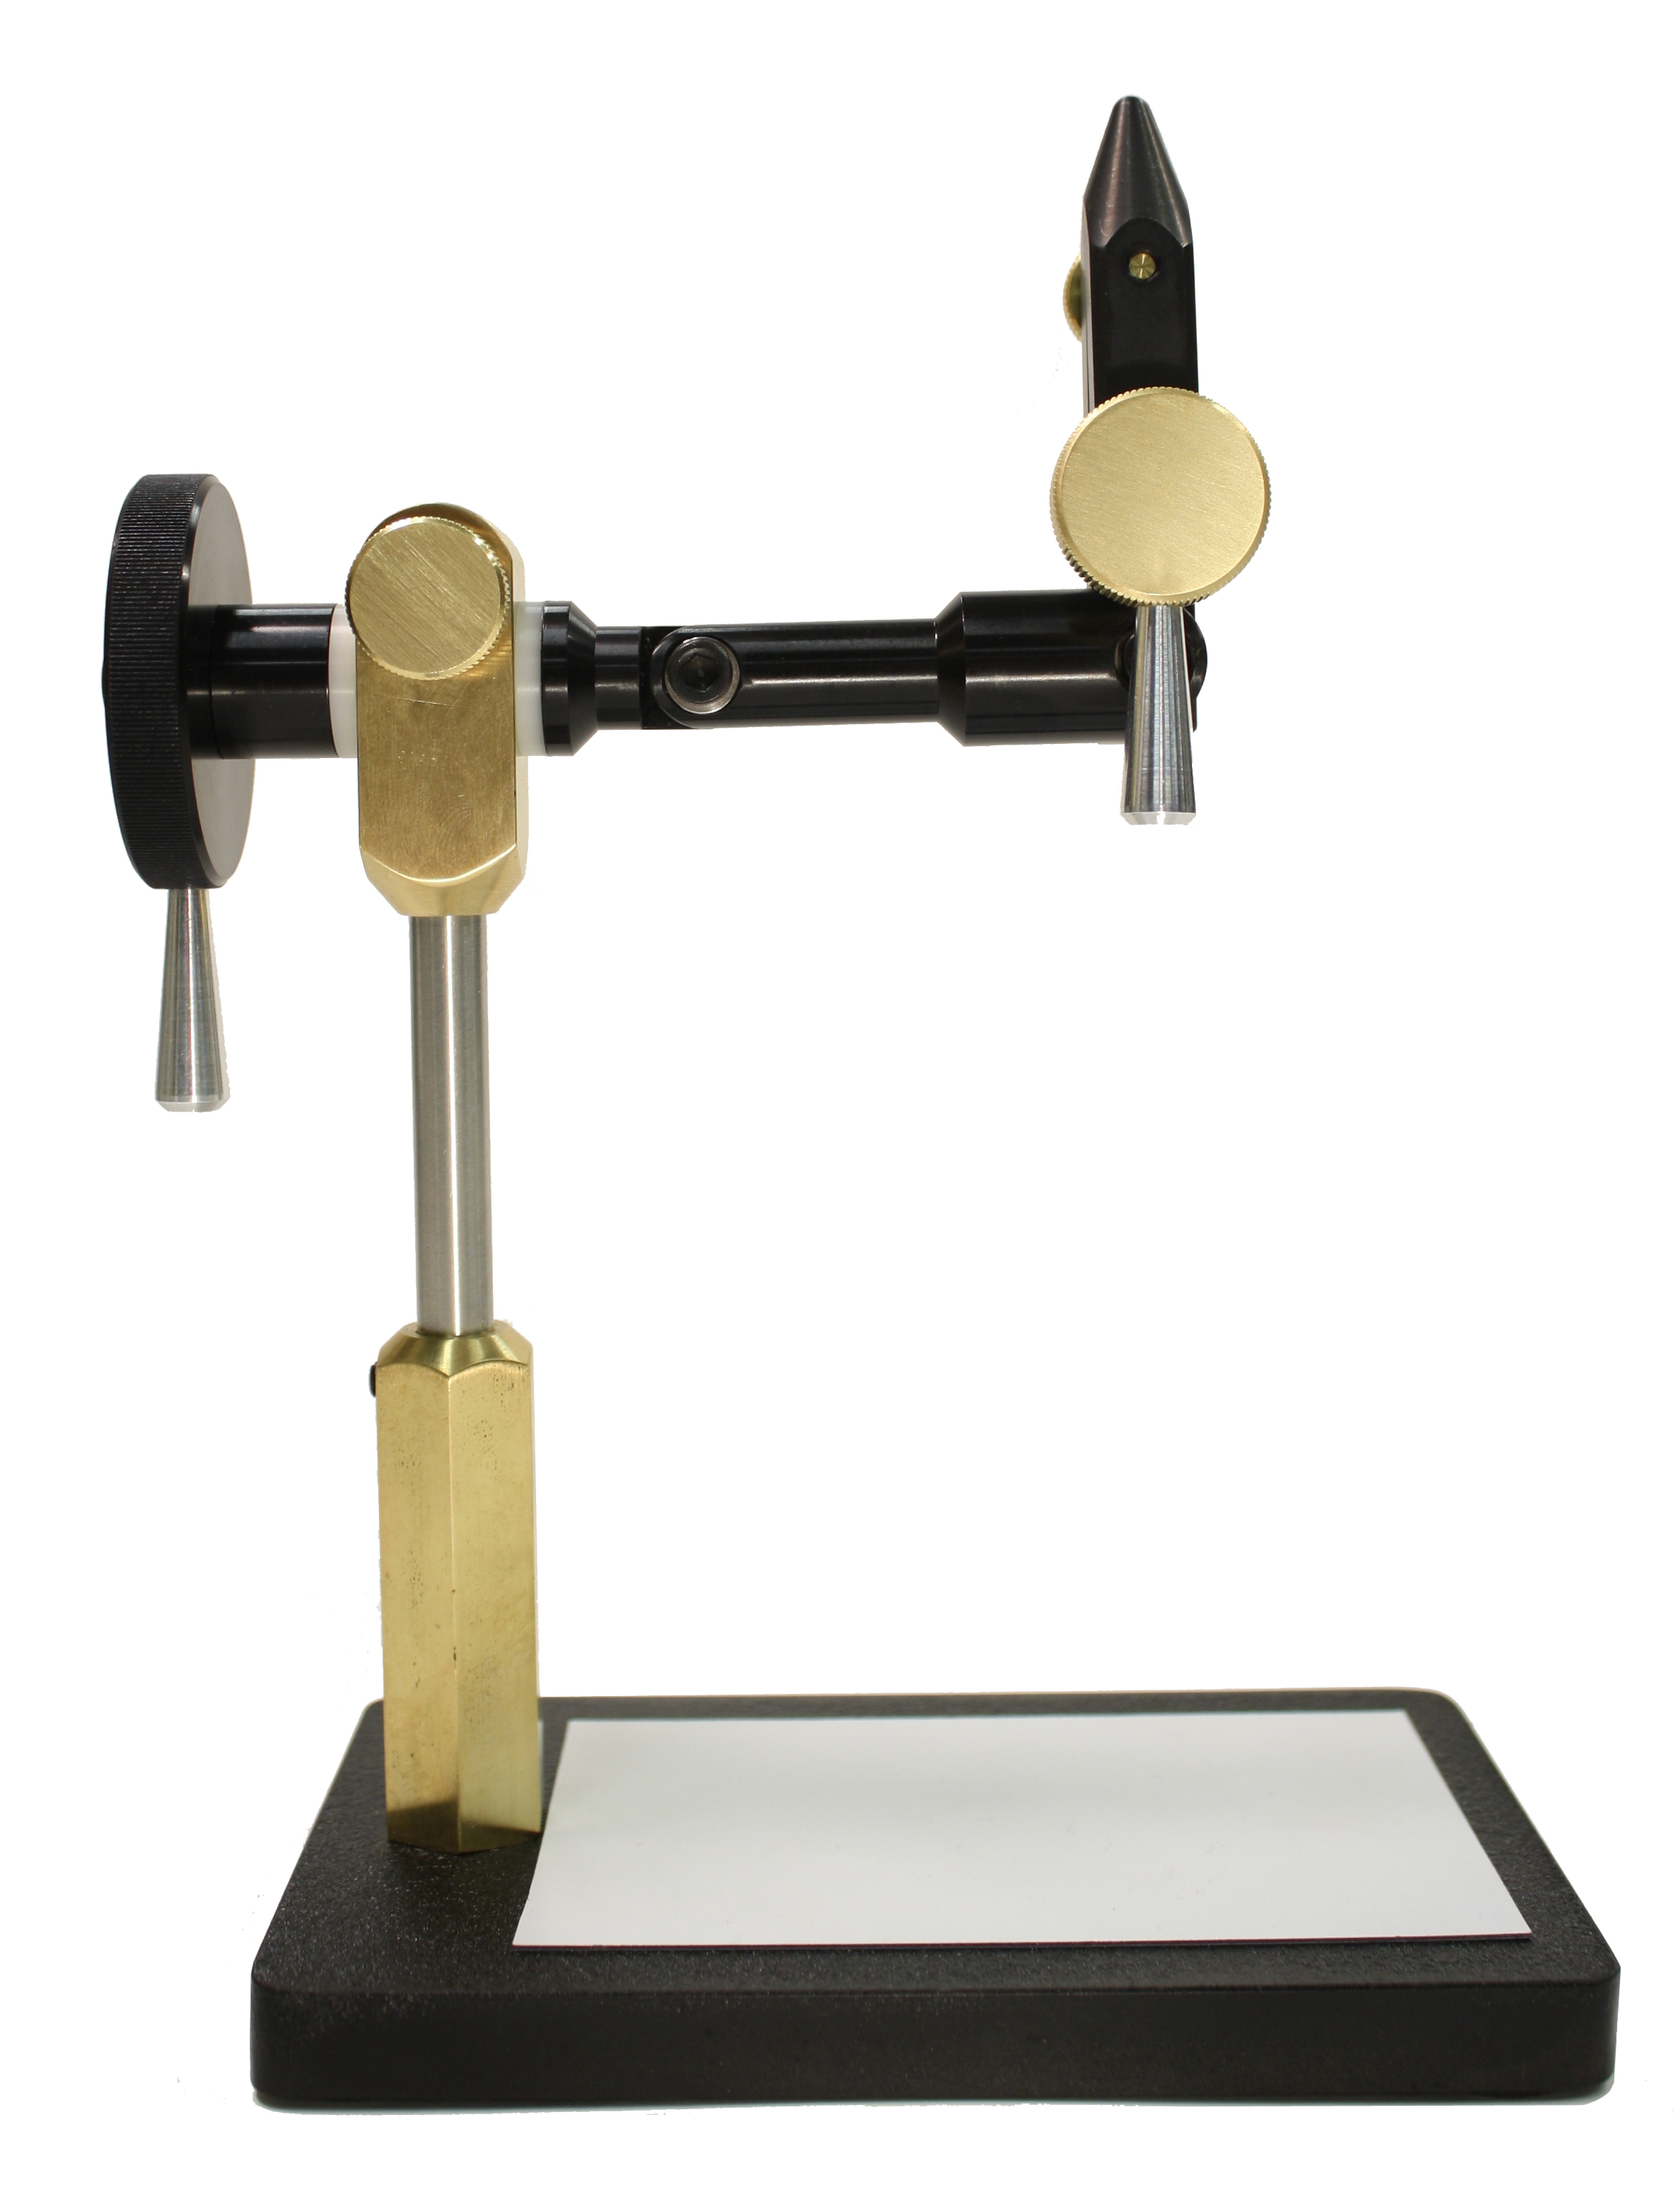
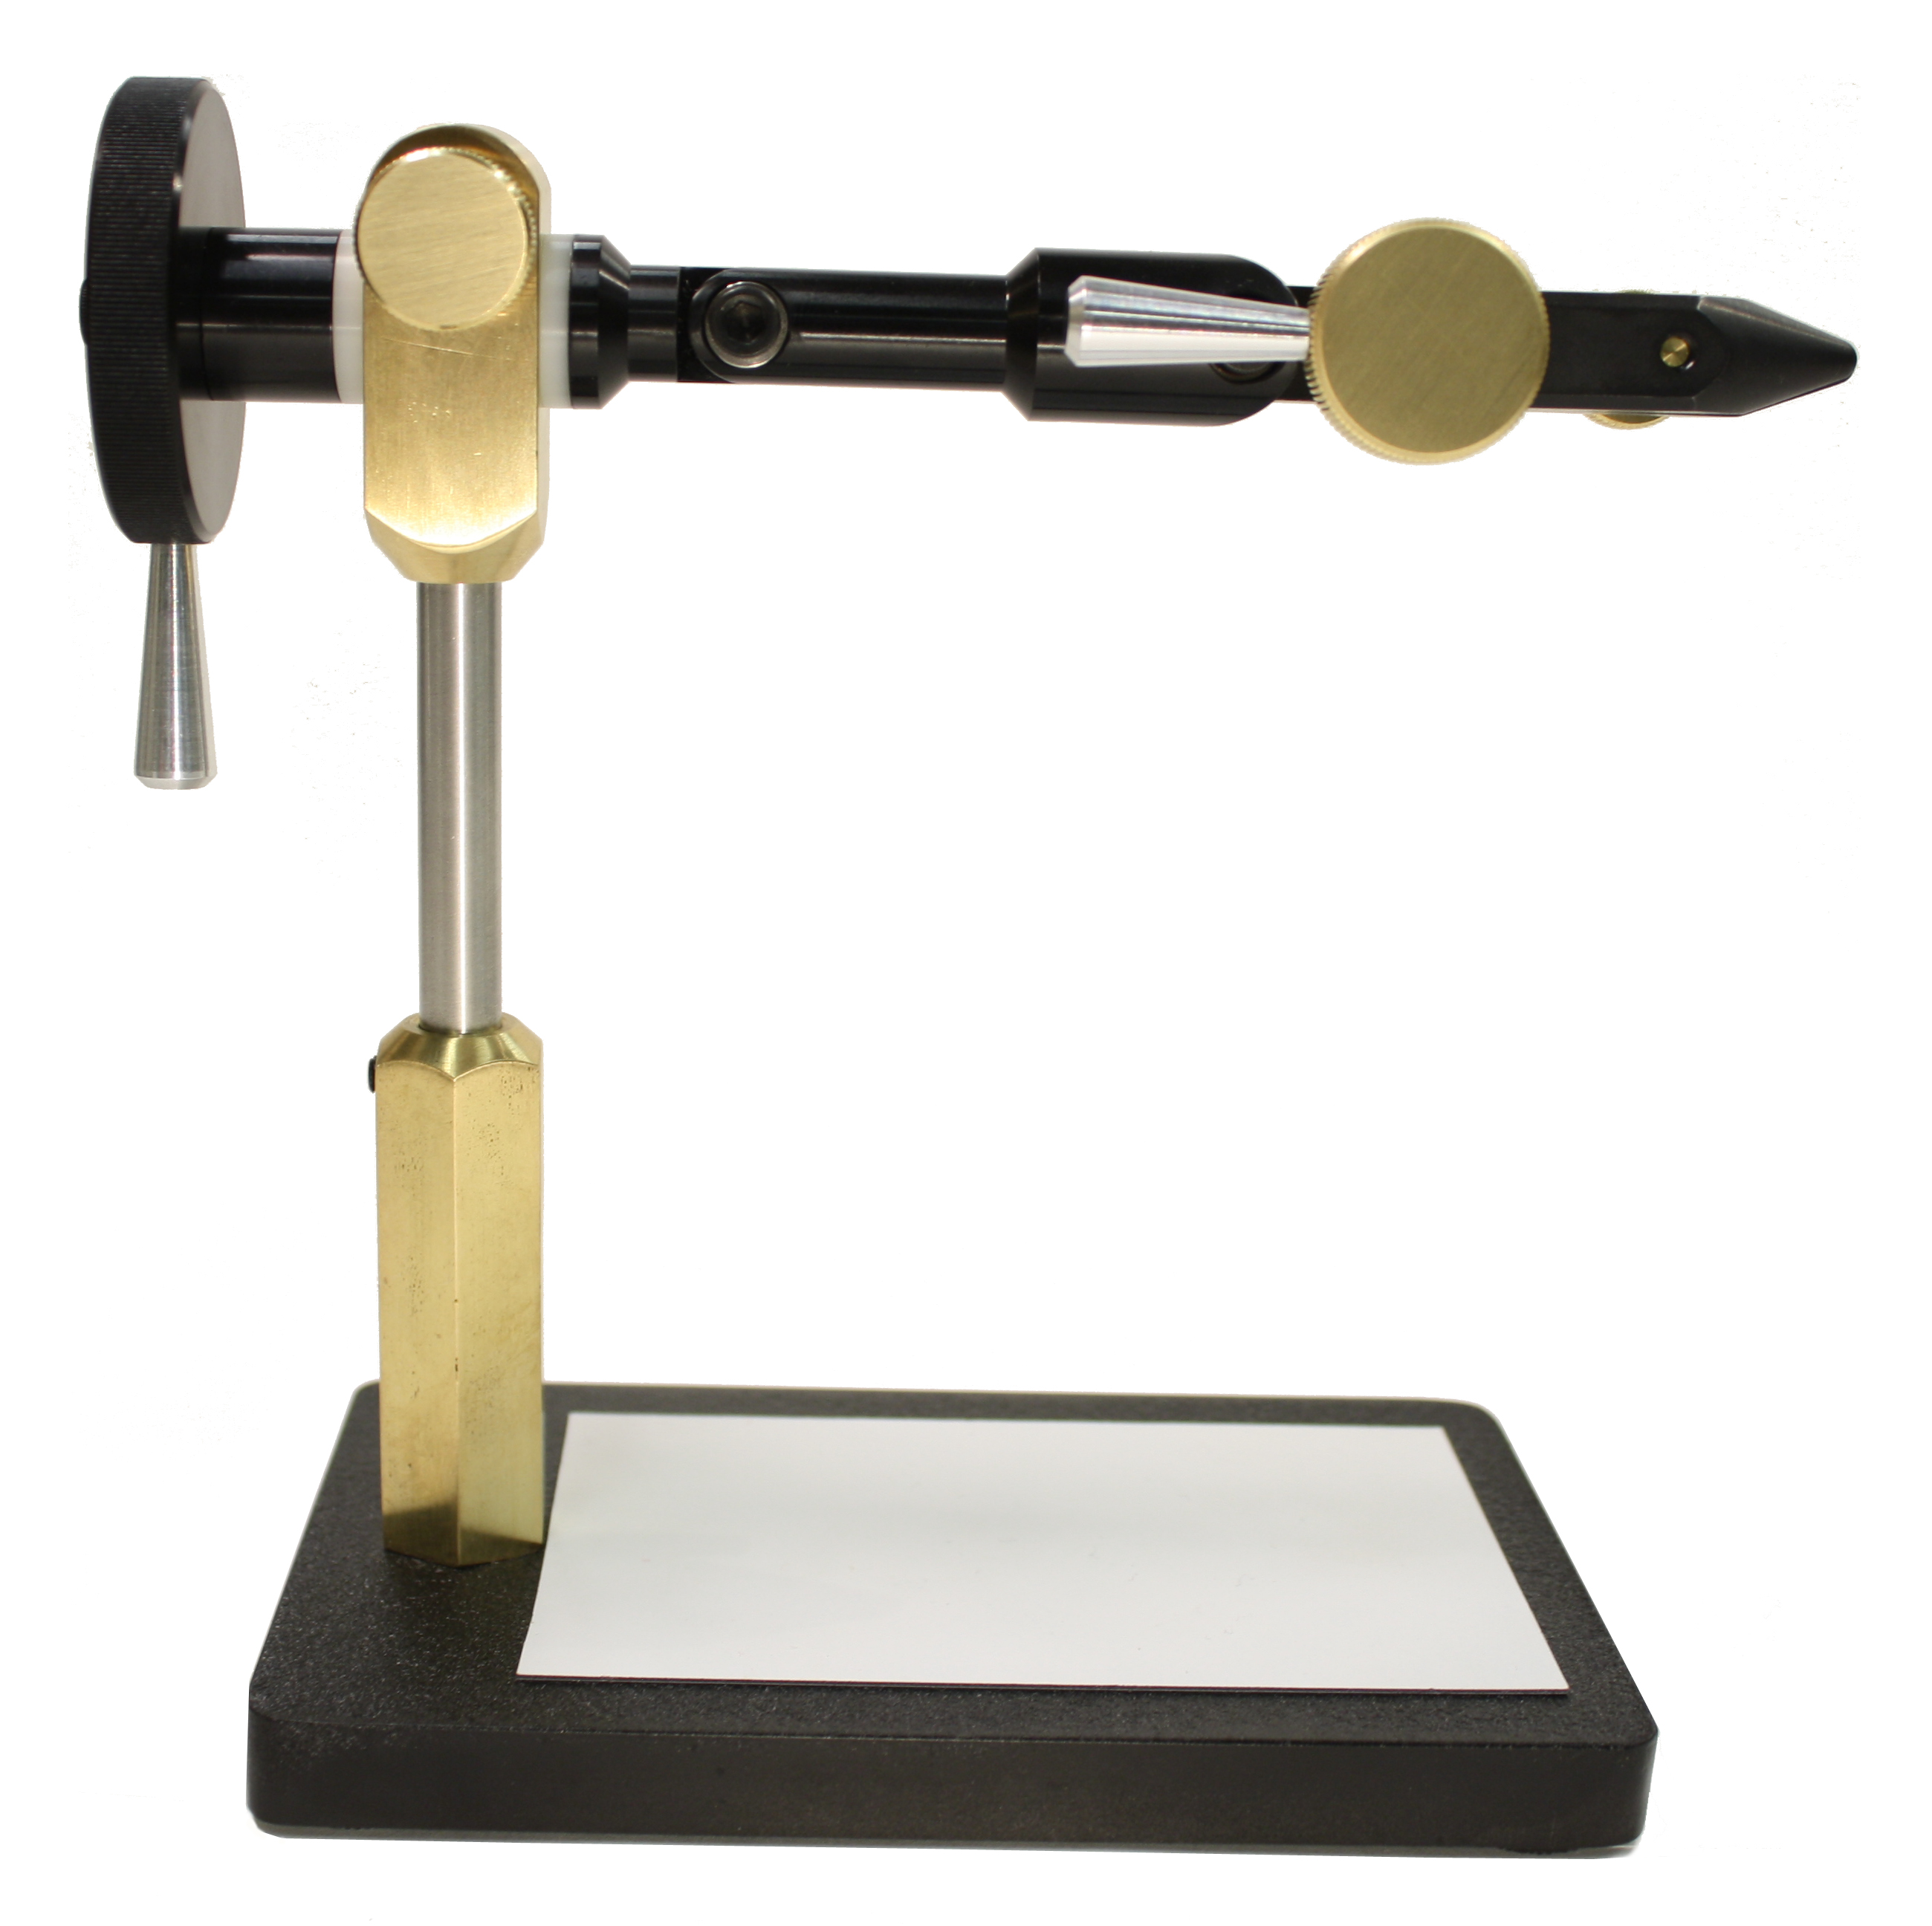
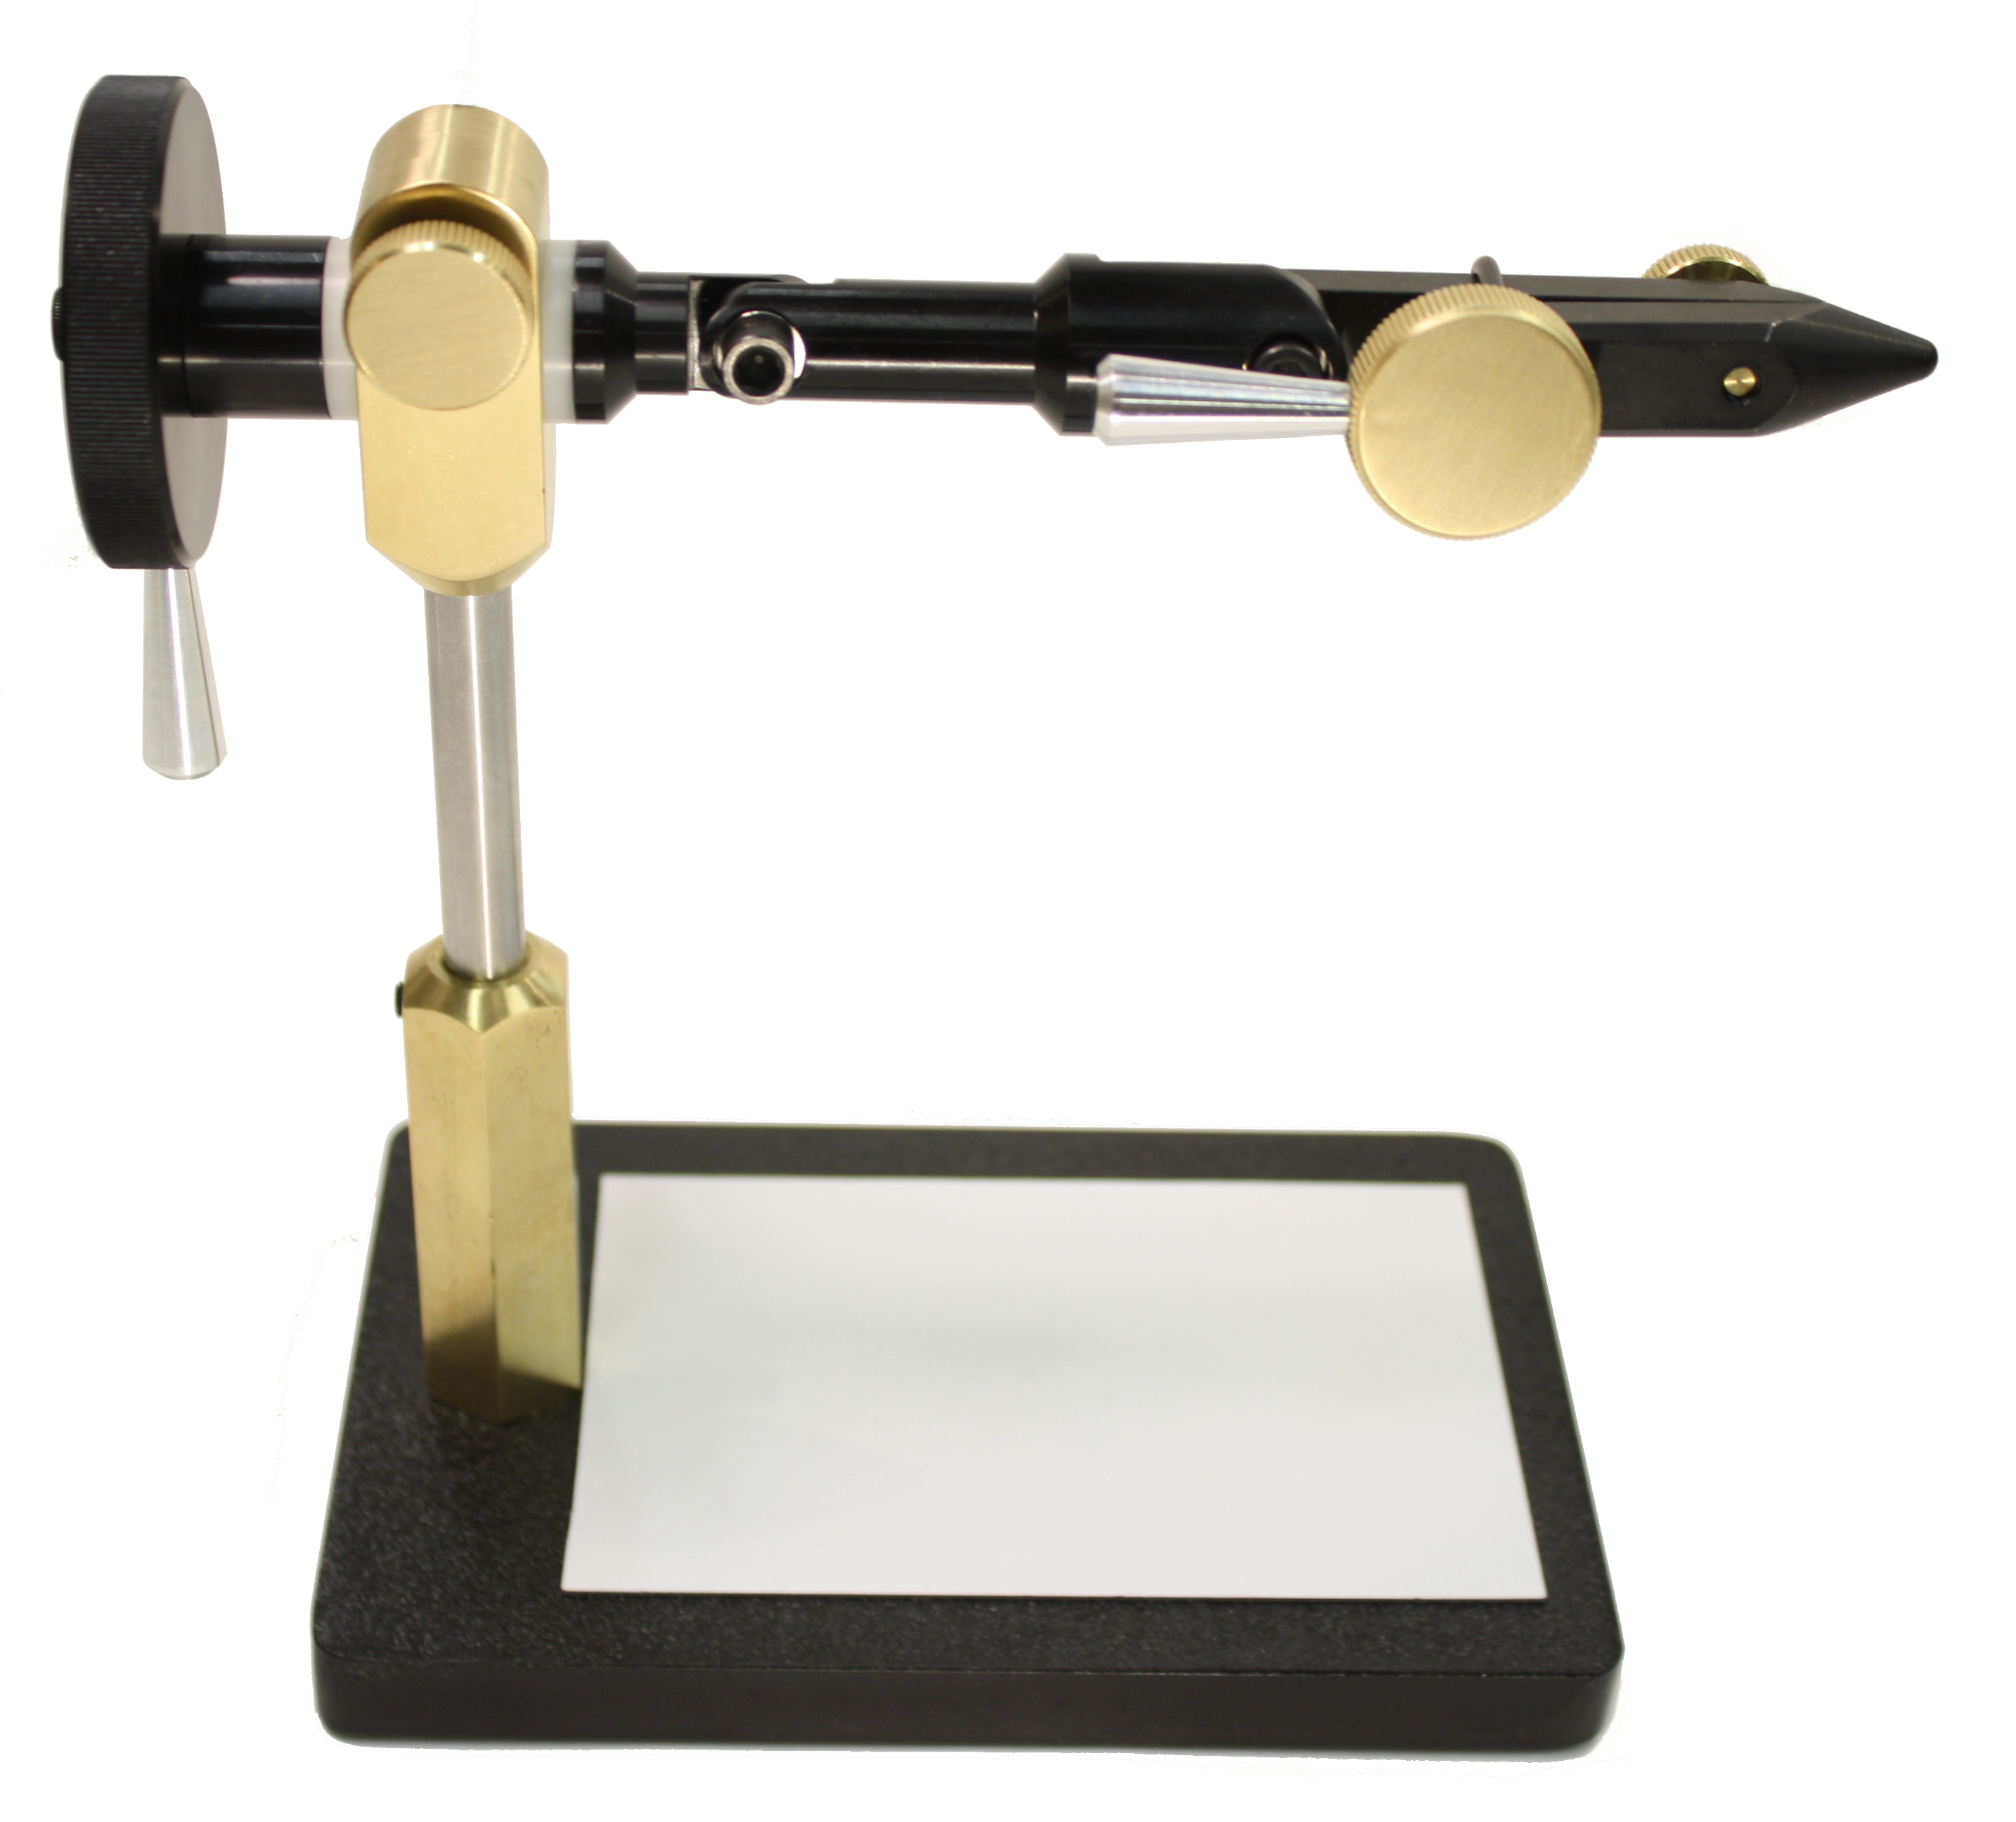
Efficient clamping is achieved by proper adjustment of the jaws for each size hook. As a quick starting place turn the clamp lever knob all the way clockwise and then turn it out about 1 turn. Then, using the small jaw knob, adjust the gap of the jaw tip to allow the hook to just slip in. Now adjust the large knob until the gap along the between the jaws is approximately parallel all the way the other end of the jaws. Continue to turn the clamp knob lever until the handle of the knob is parallel with the jaws. Now place your hook into the jaws and adjust the small knob until the jaws just touch the hook. Now the jaws are ready to clamp your hook securely using the clam knob lever. You may want to adjust the small knob one way or the other as this will affect the position of the clamp knob lever and also how the jaws contact the hook.
Try this quick trick to set your vise for wobble free rotation.
Mount your hook in the jaws in the position you prefer with the shank parallel to the base or table. Using the index finger of the hand you hold your bobbin in, point at the hook eye. Now, rotate the vise and observe if the eye of the hook goes up and over your finger or down and under If it goes up and over, grasp the middle axle joint and move the jaws up. If the hook goes down under your finger, grasp the middle axle joint and move the jaws down. This will allow you to adjust your vise to any size hook without tools in a few seconds. This fast, tool free, adjustment is where this vise excels, especially for those who switch hook size often. Other vises require complicated adjustments using tools and take allot of time.
To change vise for left hand tiers
To change the vise to left hand, straighten out the lower arm (F) and the Jaws (G) so that they are approximately parallel to the table or base. Remove the crank knob locking screw (I), crank knob (A), rotary nut (B), and the drag washer (D). Loosen rotary lock knob (J), Remove the rotary shaft (E) from the head (C) and reinstall this assembly into the left side of the head (C). Ensure the jaw clamp knob is on the same side as the rotary lock knob on the head and are facing you. Reinstall in the reverse order. Adjust rotary tension as described under free spinning drag. The vise can also be ordered set up for left hand tie.
Care
Occasionally spray or wipe the jaws down with WD-40 or similar product to protect the steel jaws. Brass parts can be polished with metal polish or brass cleaner. To adjust the tension of the joints to allow for easier or more firm joint/jaw angle movement tighten or slightly loosen hex screw at joints.
Free spinning drag
How easy your vise rotates without using the lock can be adjusted to personal preference. This can be done by loosening the knob locking screw (I) and turning the rotary nut CW to increase rotary tension or CCW to loosen tension, and then retighten the locking screw (I). This adjustment is not normally necessary and may require several adjustments to achieve a smooth tight rotation.


